Creating a Home Assistant Token
Hassette authenticates to Home Assistant using a long-lived access token (one that does not expire). You generate it once in the Home Assistant UI and store it in your project's .env file.
Steps
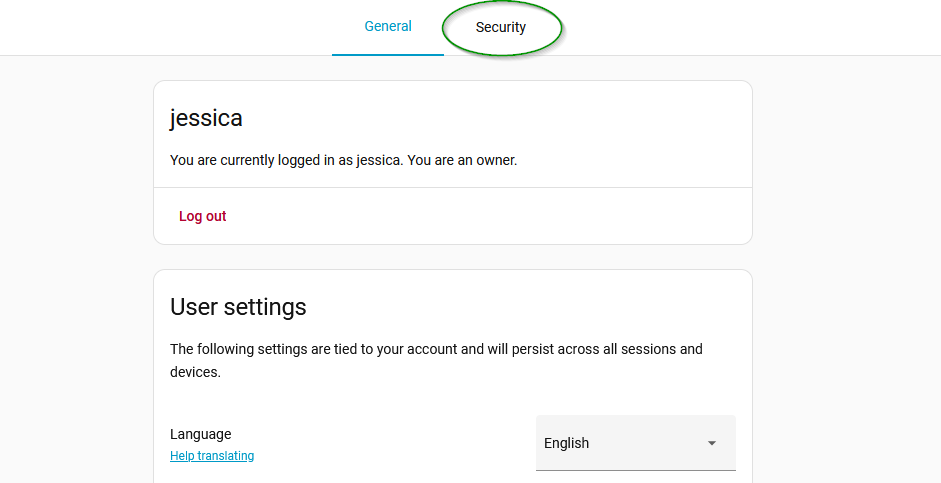
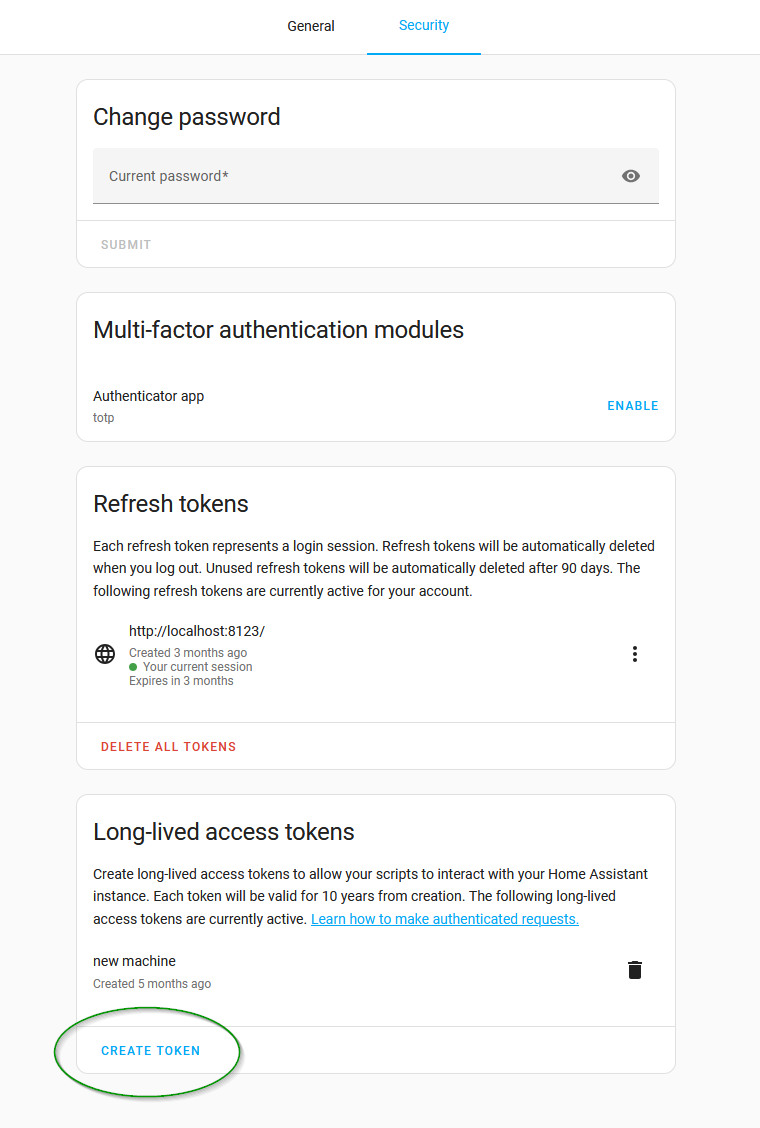
- Go to the Profile page in your Home Assistant instance. Click the Security tab.
- Scroll down to Long-Lived Access Tokens and click Create Token.
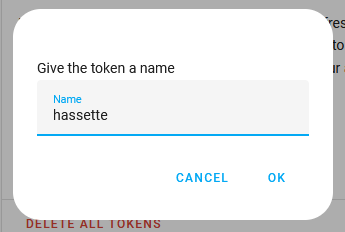
- Enter a name, for example
Hassette, and click OK.
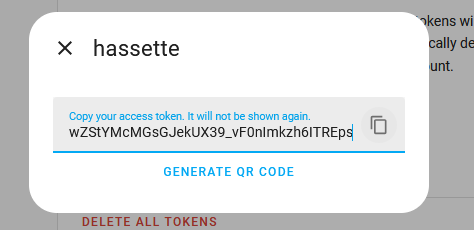
- Copy the token. Home Assistant shows it only once. If you lose it, revoke it from the Security tab and create a new one.
What to Do with the Token
In your project directory, open (or create) a file named .env and add the token:
HASSETTE__TOKEN=your_long_lived_access_token_here
If you have not started the Quickstart yet, head there next for the full .env setup and first run. The Docker Setup covers container-specific configuration.
To verify the token works, complete the Quickstart and run hassette status. If the token is valid, you see websocket_connected: True. An authentication error means the token was not copied in full or has been revoked.
Token security
A long-lived access token has the same permissions as your Home Assistant user account. Never commit it to version control or share it publicly. If a token is exposed, revoke it immediately from the Security tab and generate a new one.